Welcome To My Site
Welcome to My Site!
Section titled Welcome to My Site!Hello, everyone! My name is James Shopland, and I am thrilled to present to you my newly revamped website. As a full-stack developer with a passion for front-end development and cloud solutions, I am excited to use this platform as my personal blog to share my insights, experiences, and interests with you.

Building the Site
Section titled Building the SiteThis latest version of my site has been built using three powerful technologies: Next.js, MDX, and Tailwind. There are various options available, including Astro, Remix, Svelte, and Gatsby. I spent a considerable amount of time researching and testing these frameworks. While each of them has its unique features and benefits, I ultimately settled on Next.js. Let’s dive into the reasons behind these choices and how they have contributed to creating an engaging, user-friendly experience.
Next.js: A Popular and Versatile Framework
Section titled Next.js: A Popular and Versatile FrameworkIn my quest to explore different frameworks and stay up-to-date with industry trends, I decided to use Next.js for my website. As a widely adopted and well-supported framework, Next.js allows me to leverage my existing familiarity with React and the thriving community behind it. I am particularly excited about the upcoming introduction of React Server Components, which will further enhance Next.js capabilities.
Additionally, Next.js has a solid foundation with a large user base, ensuring its continued support and evolution. As a developer who enjoys working with React, Next.js provides a seamless transition to a more feature-rich environment. Moreover, I am looking forward to experimenting with edge functions on Vercel, which will allow me to optimize my site’s performance and deliver an even better user experience.
MDX: A Powerful Combination of Markdown and JSX
Section titled MDX: A Powerful Combination of Markdown and JSXAfter exploring several CMS options, such as Sanity, I ultimately chose to use MDX, hosted locally, as the format for my blog posts and future content. MDX is a powerful combination of Markdown and JSX, which allows me to write my posts using Markdown’s simplicity while still having the flexibility to include React components when needed. This makes it a perfect choice for creating content-rich blog posts with custom styling and interactive elements.
My implemetation is using mdx-bundler. This allows me to compile and bundle my MDX files and their dependencies. It allows me to write markdown using imports like below. This is great for demo’s in blog posts!
import Demo from "./demo";
Here's a **neat** demo:
<Demo />
Tailwind: A Utility-First CSS Framework
Section titled Tailwind: A Utility-First CSS FrameworkFor the visual design of my site, I chose to continue using Tailwind CSS, a utility-first CSS framework that I’ve grown fond of over time. Tailwind’s flexibility and ease of use enable me to quickly style components, maintain consistency across the site, and create visually appealing, responsive designs. The exceptional developer experience it offers has made me reluctant to switch to other frameworks.
Tailwind CSS has gained significant traction in the CSS world, and for good reason. Its intuitive approach to styling simplifies the process of building aesthetically pleasing websites, making it a popular choice among developers. As a long-time user of Tailwind, I am excited to showcase its capabilities on my site and continue creating stunning web experiences.
Cool features
Section titled Cool featuresIn this latest version of my site, I’ve added several exciting features that I am eager to share with you:
- Light and Dark mode: Catering to various user preferences, my site now offers both light and dark modes for a comfortable reading experience.
- Image optimization: To ensure fast loading times and optimal performance, all images on the site have been optimized without compromising on quality.
- 3D icons made by me in Blender: Adding a personal touch, I’ve designed unique 3D icons using Blender, which are showcased throughout the site.
- Search bar using kbar: Inspired by macOS’s Spotlight feature, I’ve implemented a search bar using kbar that allows users to quickly and easily navigate the site. Try it out with Ctrl/⌘ + K
- About me section with a timeline: Get to know me better by exploring the ‘About me’ section, which features a timeline of my coding journey, highlighting milestones and accomplishments along the way.
More to come
Section titled More to comeIn the near future, I have plans to further enhance my site with additional improvements and features. Here’s a sneak peek at what’s to come:
- Performance optimizations: Ensuring the best user experience, I am committed to maintaining excellent accessibility, SEO, and performance scores on the site.
- Framer Motion: I am exploring the possibility of using Framer Motion to introduce more animations and fluidity, making the site even more engaging and visually appealing.
- Playground: As a space to bookmark and showcase random code snippets I come across, I am considering adding a ‘Playground’ section to the site, which would allow me to easily refer back to them and share them with others.
- Bookmarks: Since I haven’t yet found the perfect solution for bookmarking all the cool sites I discover, I may create a dedicated page on my site to collect and share these resources. This would not only help me keep track of them but also allow you to explore some fantastic sites. Stay tuned for these upcoming
My Personal Blog: A Journey of Learning and Growth
Section titled My Personal Blog: A Journey of Learning and GrowthThis website will serve as my personal blog, where I will share my learnings and experiences throughout my career as a software engineer. I will discuss a range of topics, from projects I have worked on to emerging technologies and industry news. As a developer, I am constantly seeking new challenges and opportunities to learn and grow, and this blog will be a reflection of that journey.
The Evolution of My Site
Section titled The Evolution of My SiteThis is not the first iteration of my site. In fact, it has gone through several transformations.
Version 1
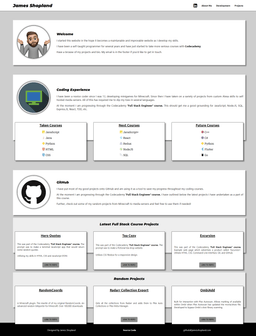
Section titled Version 1Written in pure HTML and CSS, was used when I was just a beginner and didnt think I needed a fancy framework to make a cool landing page!
Version 2
Section titled Version 2At this point I had learnt React and wanted to create a site with great performance to showcase some of my skills. To achieve this I settled on Gatsby, to generate a static site.
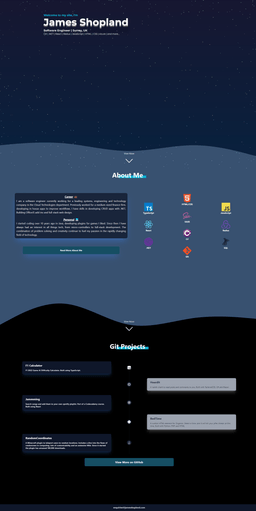
Version 2 of the site, the starry background was animated
Version 3
Section titled Version 3The site before this one, I had learnt Svelte and wanted to redo my site using it. It featured some cool animations that I unfortunately cant screenshot. The animations were reactive and allowed users to drag and throw icons around the screen.

Version 3 of the site, a lot of the elements were animated and not screenshotted :(
Conclusion
Section titled ConclusionThank you for joining me on this journey, and I hope you find my blog insightful and engaging. I am excited to share my thoughts and experiences with you and look forward to hearing your feedback. Stay tuned for more content, and don’t hesitate to reach out if you have any questions or suggestions. Happy reading!